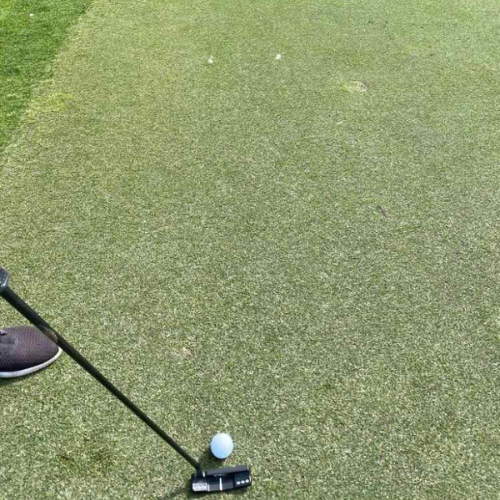
Golf Smoke

Golf Smoke

Putting Training Aid

Better Alignment, Aim, Pace, & Stroke = Better Putting

Golf Smoke

Putting Training Aid

Better Alignment, Aim, Pace, & Stroke = Better Putting

There’s A Better Way To Practice And Play!

Complete the Golf Smoke putting training drills below. Designed to help golfers achieve more consistency in their alignment, aim, pace, and stroke; you’ll see remarkable improvements in your putting performance in no time. Simply wipe away your training dots when finished.



GS PUTTING TRAINING DRILLS:

Golf Smoke Drill #5 – The “Putting Path” Drill

The Golf Smoke “Putting Path” drill helps golfers take the putter straight back and straight through to your target line

  1. Find an area of the practice green that is fairly short and straight to do this drill.
  2. Stand your putter up and lay down a club at each end (toe/heel) of the putter. Both pointing down your target line.
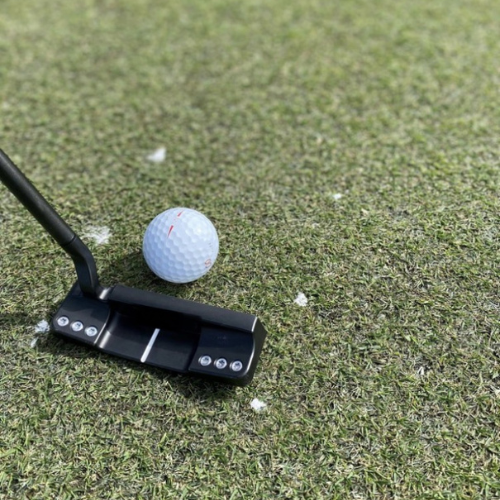
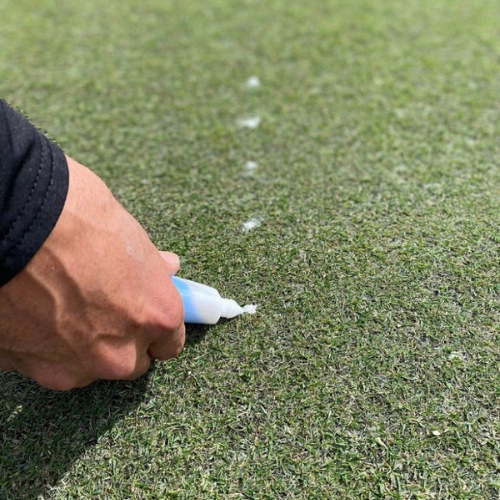
  3. Using the golf clubs as a guide, make 3 dots along each club 3-4 inches apart.
  4. Remove the golf clubs to reveal the Golf Smoke training dots.
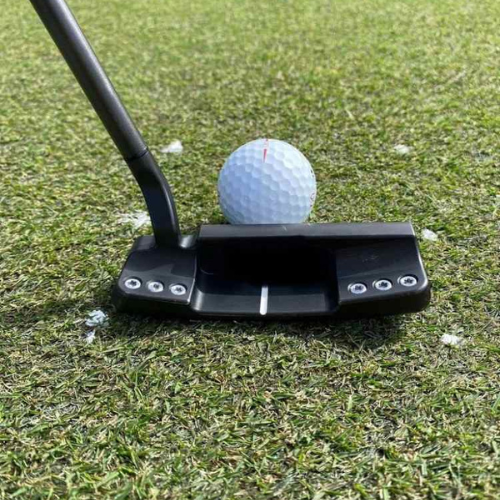
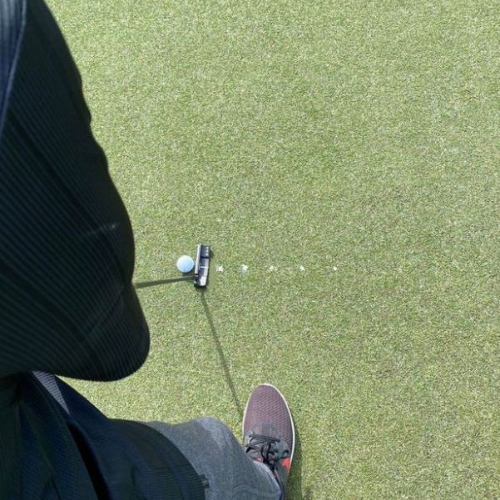
  5. Place a ball in the middle and hit some putts.

Use the Golf Smoke dots as a guide to ensure you’re bringing the putter straight back and straight through.

Golf Smoke Drill #6 – The “Connect The Dots” Drill

The Golf Smoke “Connect The Dots” drill helps you visualize the start of your putting line, while training your body and mind to get a consistent roll on that line

  1. Lay a golf club down on the green, pointing toward the hole.
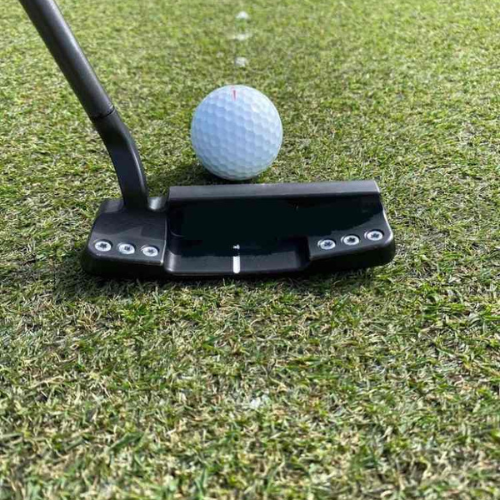
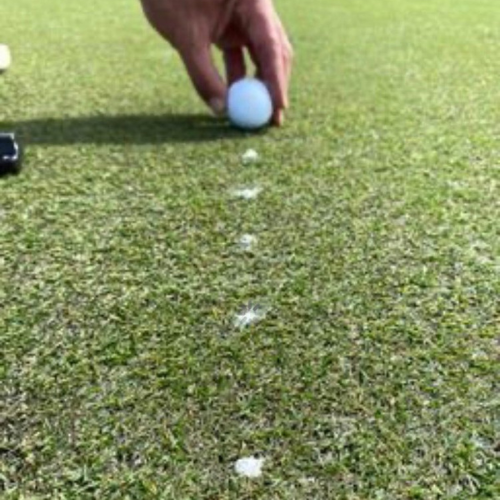
  2. Using the golf club as a guide, use your Golf Smoke to make 2-4 dots (in 2-3 inch increments) towards the hole.
  3. Remove the club to reveal the Golf Smoke training dots.
  4. Give a slight pat down with your putter to make the Golf Smoke dots flat to putt on.
  5. Place your ball 2-3 inches away from the first dot and putt your ball over the Golf Smoke guide dots towards the hole.

Golf Smoke Drill #7 – The “Box” Drill

The Golf Smoke “Box” drill teaches golfers to hit putts with the optimum speed to hole out putts more consistently

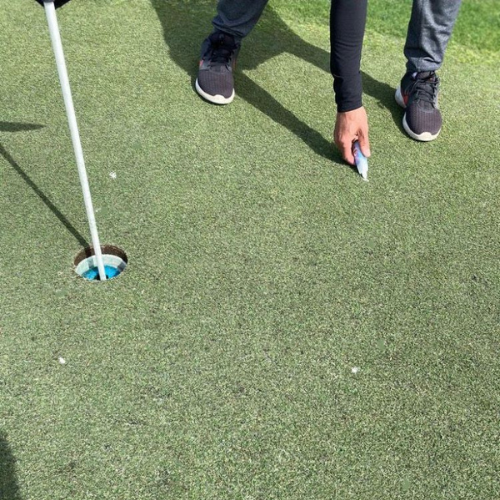
  1. Put 2 Golf Smoke dots (1 dot on each side – about 4 inches from the edge of the hole) even with the front of the hole & 2 more dots (1 on each side of the hole – about 14 – 18 inches behind the hole) to form a box. (See picture above).
  2. Back up & hit putts from any distance that you want to practice.

The goal of this drill is to have your ball finish in the hole or inside of the box if you miss the hole

Golf Smoke Drill #8 – The “Pace” Drill

The Golf Smoke “Pace” drill is ideal for golfers seeking more consistency with distance control when putting

  1. Find a flat putting surface toward & place a ball on the green.
  2. Using Golf Smoke, make 5 dots. Put the first dot 3 inches behind the ball & Continue putting a dot every 3 inches behind the previous dot until you have a total of 5 dots behind your ball.
  3. Hit 5 putts taking the putter back to the nearest Golf Smoke dot behind your ball. Pace off the distance from where your balls started to where your putts ended up (Take note of the # of paces for this dot location).
  4. Continue the 5 putts/pacing off process for each successive Golf Smoke dot until you have found your pace range for each of the 5 dots behind your ball (Take note of the # of paces for each corresponding dot location).

This will give you a range of how far your putt will travel when you take your putter head back to the location of the each dot.

During your round, just pace off the distance of your putt and simply take your putter head back to the location of where the corresponding Golf Smoke dot would have been that matches the # of paces (Adjust accordingly depending on slope of putt and speed of green).

Golf Smoke Drill #9 – The “Gate” Drill

The Golf Smoke “Gate” drill helps golfers learn to play breaking putts with different lines and different speeds

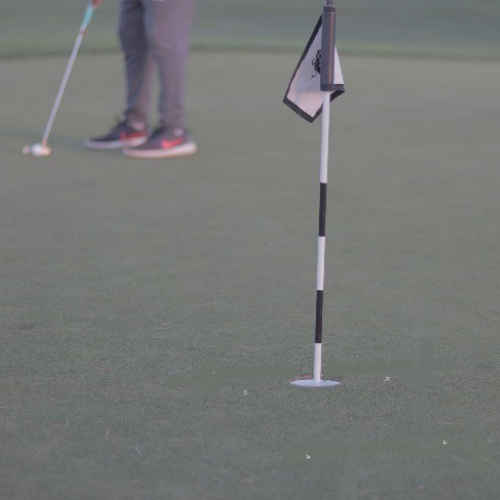
  1. Find a hole to putt to that has break to it.
  2. Using Golf Smoke, put 2 dots (about 4 – 6 inches apart) on the break of the putt to give you a gate to putt your ball through.
  3. Putt your ball through the Golf Smoke gate dots.
  4. Hit putts at different speeds and on different lines through the Golf Smoke gate to get a feel for how much the speed will affect the break on the putt.
  5. Adjust the putt speed to find the correct speed/line combination.

There is not 1 break and 1 speed to hit a particular breaking putt, so the Golf Smoke gate gives you a chance to hit breaking putts with different speeds and different lines.